A clap lines up at the beginning of a phone clip. Ten minutes later, speech has started moving out of sync with the mouth. Measure the offset near both points. If the difference is the same at either end, first look for a fixed track offset. If the ending offset is larger, compare frame timestamps and the track durations.
With variable-frame-rate video, successive frames can have different time intervals. HandBrake's frame-rate guide distinguishes variable frame rate, constant frame rate and a peak limit. A peak limit can leave some source intervals variable. Select constant frame rate for a diagnostic transcode and preserve the untouched original.
Write down two observations
Find a clean sync marker near the start, such as a clap or a sharp consonant. Add a second marker near the end. Use the frame containing the impact and the corresponding audio transient. Record the offset for each on the same timeline. If the initial offset is two frames and the final offset is twelve in the same direction, the offset grew by ten timeline frames over the interval. It is worth checking timestamps and playback before correcting twelve frames by hand.
Try the original in another player and inspect its stream or frame information with a tool such as ffprobe. Frame timestamp intervals are more informative for this question than a single average frame rate. Also note whether the audio came from the recording device or a separate recorder. Two independently recorded devices may disagree about elapsed time even with constant-rate video.
Change one input at a time
Transcode a copy that includes both markers. Set constant frame rate and use the rate that fits the editing and delivery plan. Keep enough quality to compare the picture and retain the audio needed for the test. In Premiere, the sequence timebase determines the edit's time divisions, so compare the same material in the same sequence timebase.
Include sound near each marker in the test transcode. If you compare a separately trimmed fragment from one end with a full-length original, restarting its time at zero can hide an offset. Compare the same elapsed segment and keep a note of how you cut it.
Measure the beginning and ending offsets again. If the difference largely disappears, use the tested copy for the affected footage and record the transcoding setting. Check motion between markers because changing timing may repeat or drop frames. If only the initial offset changes, inspect where the audio track starts. If the difference still grows, test the source sound independently or compare elapsed durations of the two devices before processing the rest of the shoot.
Keep a timing record before moving any tracks
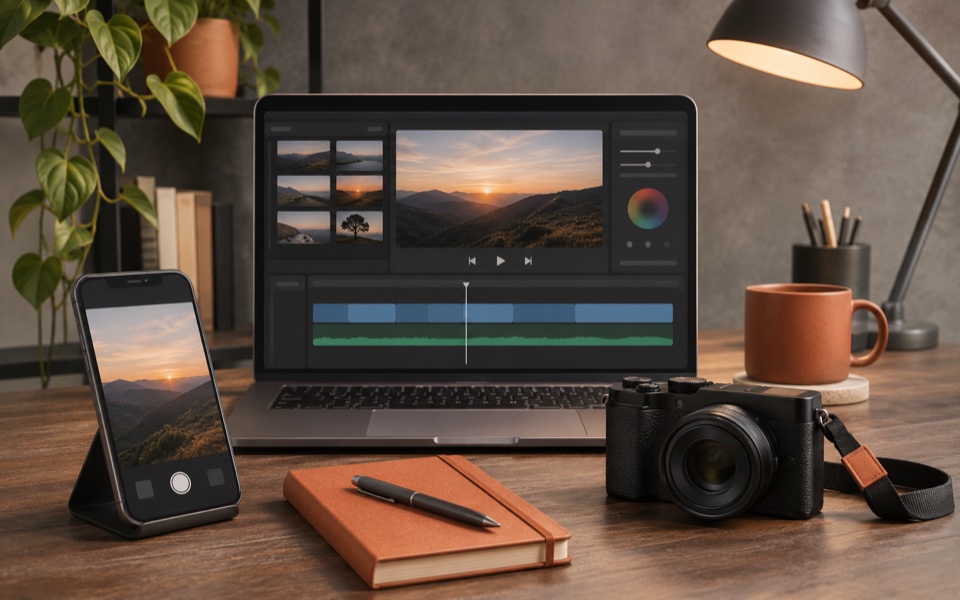
On the editing timeline, note the time of the visible clap and the matching spike on the audio track. Write down which one arrives first. Repeat that at a second marker far from the first. Use the same sign for the difference throughout. In a 25 fps sequence, two frames represent 80 milliseconds and twelve frames represent 480 milliseconds. If the audio is early by both of those amounts at the respective markers, the difference grew by about 400 milliseconds. Sliding the audio by 80 milliseconds would align the first marker and leave the later drift visible.
If you only have speech, choose a sharp sound and a corresponding picture frame you can recognise. A performer opening their mouth before a long sound has a less precise visual point than a clap. Get a third measurement in the middle to check the pattern. If two marks match and a third around a cut does not, first check that all three marks are in the same uninterrupted recording. A dropped or inserted segment can create a jump that looks like uneven drift.
Keep the playback route in the record. Bluetooth output can affect a live sync judgment. You can use the waveform and image inside the editor to locate the event without relying on what you hear through that device. Check a short export on another player too. If the output is in sync and only editor playback looks wrong, examine the editor and monitoring setup before modifying the clips.
Make the transcode answer one question
Choose a duplicate with both sync markers and the relevant audio channels. Use a constant output rate appropriate to the project. Where practical, keep the start time and duration comparable and name the copy with the setting you used. Import it in a duplicate sequence beside the original and align the same first marker. Then compare the last marker without recutting the rest of the project. This checks whether the time variation is connected with the drift observed in that editor.
Avoid treating any conversion as proof of the cause by itself. A transcode can also change audio packaging or the way a video stream is decoded. If the drift improves, note the whole combination that worked and try a second long source file from the same camera. Check that the picture has consistent motion near a slow pan or a moving subject before relinking. Use the timeline frame-rate test if the constant rate also needs to satisfy a particular delivery master.
If the drift remains, compare the duration of the camera's embedded audio with the external recorder for the same two markers. Gradual disagreement can come from the clocks on two devices. A source audio track that remains aligned while the external recorder drifts gives you another useful clue. If no source tracks line up in the editor but a normal player plays them together, check the app's interpretation and proxy path. Test the same source with proxies disabled before retiming anything.
Decide which test earns a project-wide change
After the rehearsal, list the clips affected and the smallest change needed for each one. A constant offset can be tracked as a sync adjustment on a copied sequence. A source for which the constant-rate copy fixed the drift could use the tested transcode, with the original held for reference. A progressive timing difference between two independent recordings may need separate correction on their audio pair. Keep the initial and final measurements so you can check whether the selected change worked.
Export a short section including a later visible marker before applying the workflow to all clips. If the corrected preview ends up with the wrong motion cadence, verify the chosen frame rate and export settings before proceeding. Make the acceptance check on the sequence and the actual preview or delivery file, since they can take different playback paths.